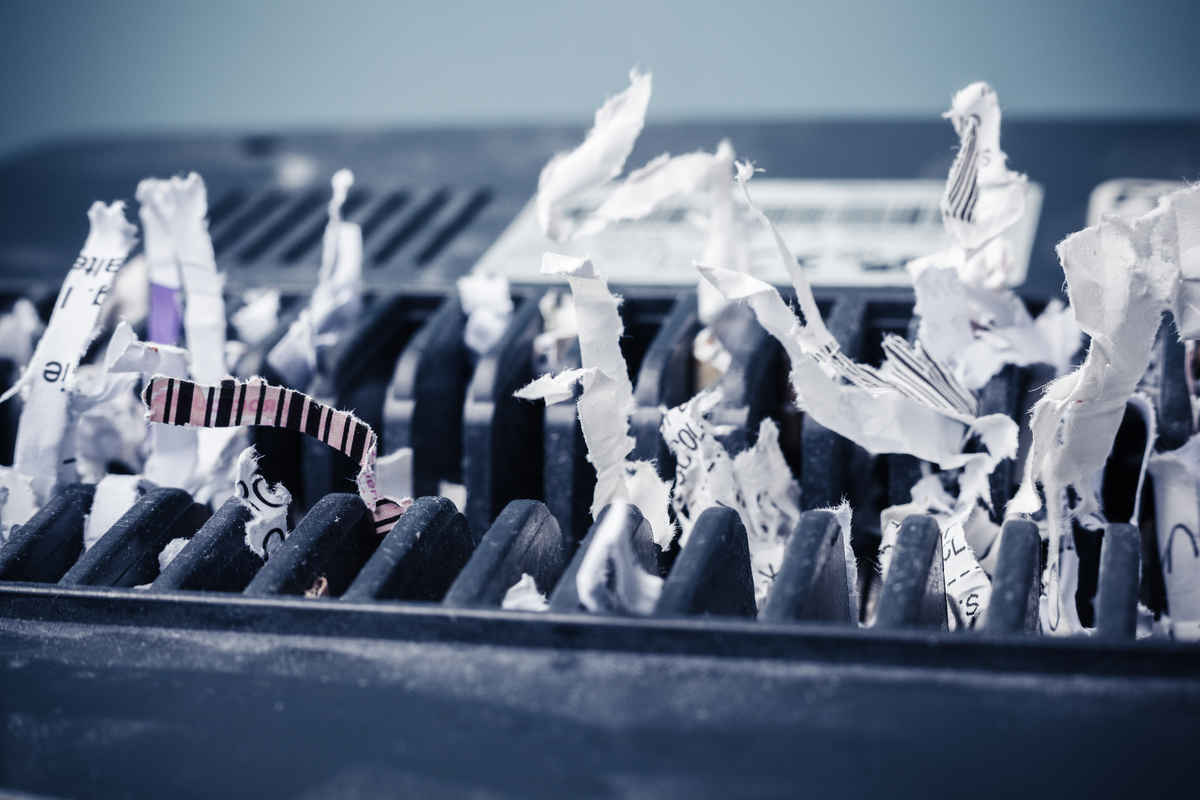


We only pay attention to the humble paper shredder on two occasions. The first is when it needs emptying and the second is when it stops working. The most typical cause of the latter is the blades seizing up as a direct result of a blockage. And, the most typical cause of this blockage… us. Putting something through the shredder it was not designed to shred or trying to jam too much paper in are the usual culprits.
Luckily, blockages caused be either of the two are a fairly easy fix. To do this you’ll need:
- A pair of needle nose (or narrow) pliers
- Some heavy duty garden gloves (optional but recommended).
1 Can You Reverse The Jam?
Try throwing the blades into reverse. You can sometimes cause the worst of a jam to retract from the machine before it clogs up the blades. This works especially well if you can hear the unit struggling to pull through the blockage but it hasn’t stopped working entirely.
Once the blockage is removed try running the shredder in continuous mode. You’ll probably hear it struggle for a second or two before the blades spin freely.
If this simple fix has worked – great! If not, continue following the steps below.
2 Sorry, We Have To Mention This…
Shredders are more than capable of making a mess of your fingers. Always ensure you unplug the unit before beginning. Even though, when the shredder is removed from the collection bin, it may appear dead it isn’t.
A small switch detects when the bin has been removed and cuts power to the blades. But since you’ll be lifting, moving, holding and working with the shredder it is possible you could knock the switch and activate the blades at the most inconvenient of times. You have been warned!
3 Start on The Under Side

Now your shredder is safely unplugged begin by removing the main unit from the collection bin and flipping it over to expose the blades.
Put your gloves and grab your needle-nosed pliers. Begin by carefully pulling large chunks of the blockage from between the blades using the tips of the pliers. This can take some effort to remove, especially if the blockage is wedged firmly in place. It might not always come out cleanly, so remove as much as you can. Using this technique work your way across from one side to the other.
4 Move To The Top
Next, flip over the shredder and using a torch shine a light into the paper inlet. Check for any large pieces of paper or plastic and remove those carefully using the pliers.
You need to be especially careful since this opening is often small and if you’re heavy-handed with your pliers you can damage the cover of the shredder.
5 Move The Blades Back and Forth
The moment of truth. Now the blockages have been cleared its time to test if your shredder is working. Place the main unit back onto the collection unit and plug it back it in. Run a test by switching the shredder to continuous mode and check to see if the blades spin.
If you can hear a hum but the blades aren’t moving try alternating the blades between continuous mode and reverse, allowing a few seconds between changes. This is often enough to remove the final part of the blockage and the blades should start spinning freely.
If your shredder appears completely dead try the next step.
6 Overheat Time Out
Occasionally, after a blockage, your shredder will appear to have died. Even when its plugged in it could appear unresponsive and can’t be switched on. But this doesn’t necessarily mean your shredder has gone to the great electronics graveyard in the sky.
Some feature an overheat sensor. When the shredder has been run for too long or placed under too much pressure this sensor will activate and switch the unit off. Once activated this can be in effect for 10 -20 minutes on average. Simply wait until this time has passed and you’ll find your shredder ready for use.


