For the most part, dehumidifiers require very little maintenance. Generally, they are very robust and many people don’t bother to clean them at all.
However, not maintaining your dehumidifier introduces two problems. The first is that, over time, the effectiveness of your dehumidifier will be reduced considerably. This will cause it to take longer, and therefore use more energy, to reduce humidity.
Secondly, it will leave you scratching your head when it suddenly stops working – even if the appliance is only a year or two old (we’ll cover why this happens below).
Even though dehumidifiers might have the miasma of a complicated piece of kit, cleaning them is relatively simple. A few simple jobs are all that is required to help keep it running at peak performance. In this guide, we’ll cover the simple steps you can follow to do just that.
Step 1: How To Clean The Filter
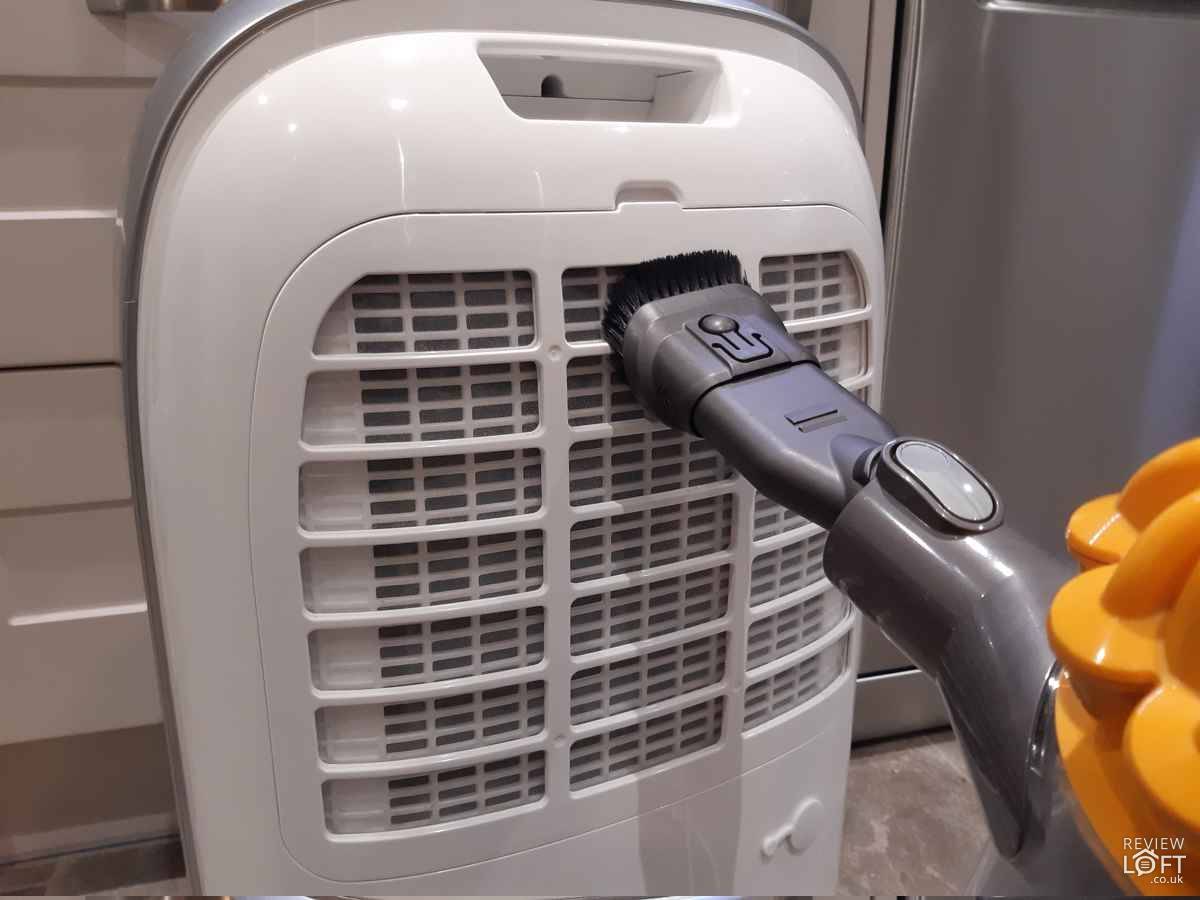
If you use your dehumidifier regulary you should clean your filter at least every week or two. A build-up of dust on the filter will not only degrade the performance of your dehumidifier but also shorten its lifespan.
A blocked filter makes it difficult for the unit to pull in moist air. As a result, more strain is put on the fan and internal components, increasing their workload and causing them to wear out sooner. Plus, if your filter features anti-bacterial properties (such as a silver-ion coating) a film of dust will prevent this from working effectively.
Depending on the type of filter within your machine you can clean the filter one of two ways. The first is vacuuming and the second is by carefully rinsing the filter under the tap.
Generally speaking, if your dehumidifier has any kind of anti-bacterial coating you shouldn’t wash it because this will degrade the coating. You also shouldn’t wash filters that contain charcoal or are composed of multiple layers since this, again, can either reduce their effectiveness or destroy them entirely.
You can usually tell if your unit features a basic dust filter because it will often appear as a fine plastic mesh over the back of the appliance. Whereas more complex filters after often thicker, sometimes composed of a fibrous material or contained in a removable catridge. If you’re unsure always check the manual that arrived with your dehumidifier.
To wash a filter carefully run it under a tap of warm water and wipe with a soft sponge. You should see the dust and dirt ball-up and rinse away. Once finished make sure your filter is completely dry before placing it back in your dehumidifier.
Step 2: Replacing Your Filter
Some dehumidifiers feature filters that cannot be cleaned and, as such, they need to be replaced periodically.
For example, some of the dehumidifiers made by UK manufacturer Ebac feature a carbon filter. Whilst these are great at filtering fine dust and allergens from the air and absorbing odours, they don’t have the greatest life span. This means they need to be replaced every few months (depending on usage).
We have known of people who don’t replace these kinds of filters, instead choosing to vacuum them. This is certainly a tempting option. However, some filters are so thick that vacuuming them will do little more than remove surface dust. Once replaced they will still put a strain on the machine since they are still partially clogged.
As, always, if you are unsure if your filter needs replacing check the manual that arrived with your dehumidifier. If you can’t find it simply search for the manufacturer’s website. Many provide online copies of their manuals which you can download free of charge.
Step 3: Cleaning The Water Tank
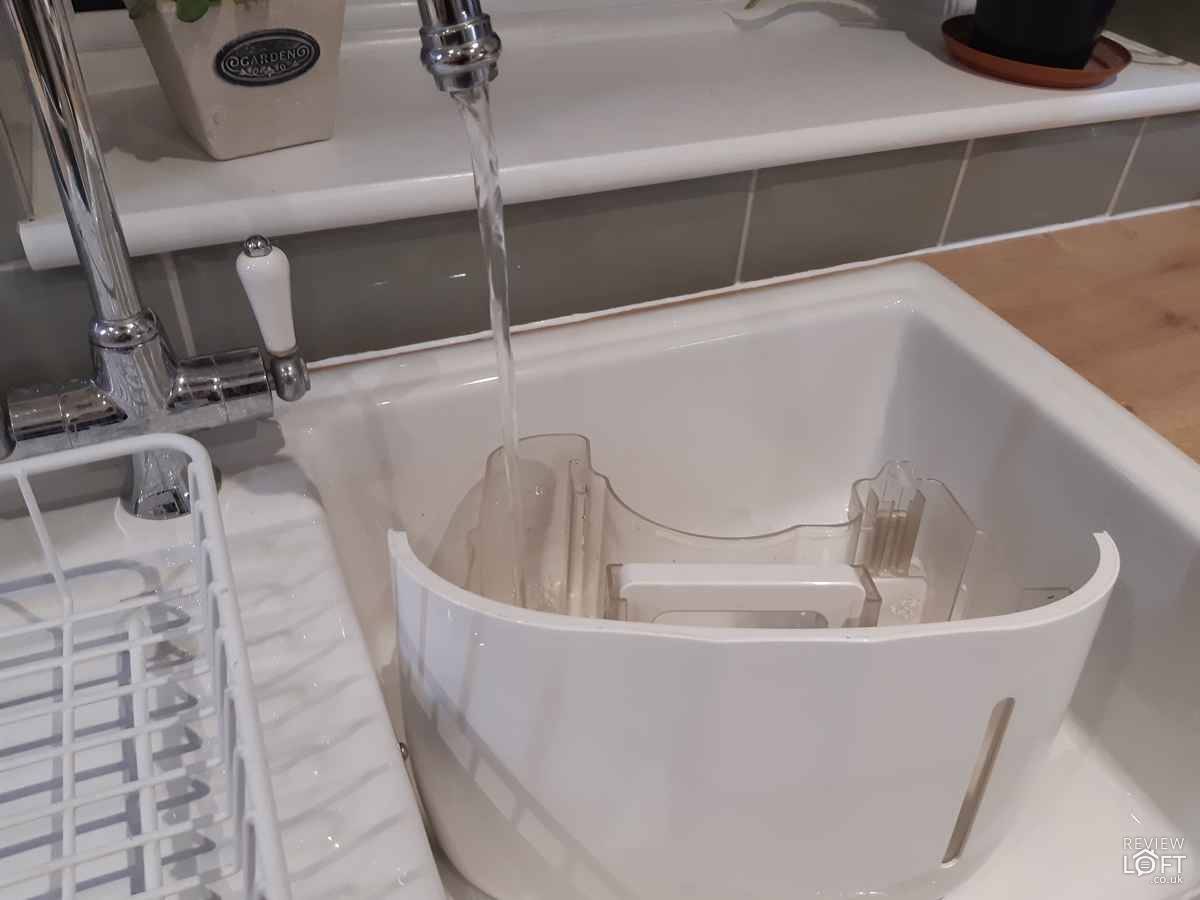
The water tank on many dehumidifiers is usually safely tucked away inside the machine. This helps ensure any collected water does not get spilt but this can also create one or two problems.
The first is that the tank can sometimes get a film of dirt build up on its walls from fine dust that has been pulled into the machine. The second is that because the tank is often wet mould can grow. You will know when this has happened because you will notice a musty odour whenever your dehumidifier is in use.
To clean your water tank remove it from your dehumidifier and carefully clean it using warm water with a little bit of washing up liquid. Don’t forget to dry it thoroughly before inserting it back into the machine.
This job won’t need completing too often and some tanks, such as the one found in the Zambezi by Meaco, feature an antibacterial coating that prevents the build-up of mould.
Step 4: Wiping Down The Unit
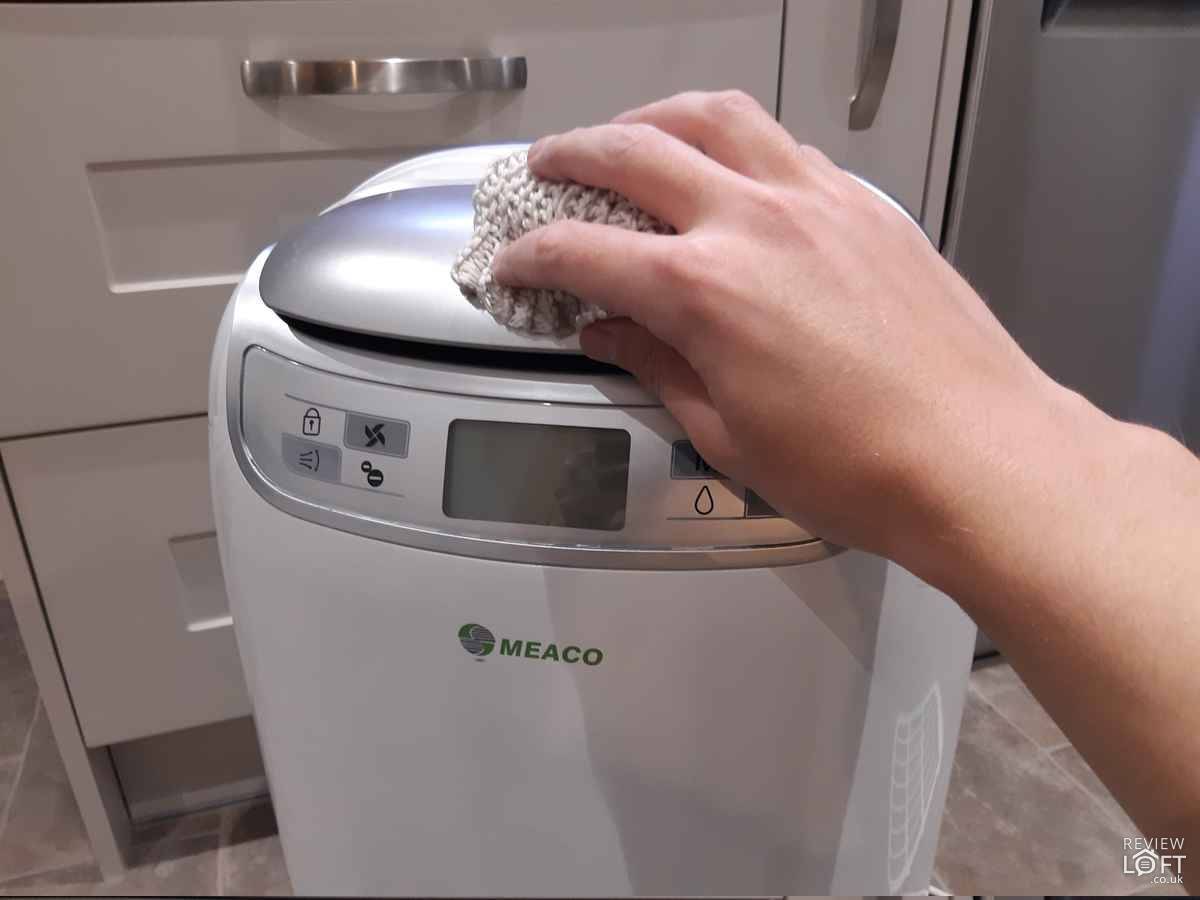
The last job on your checklist is a simple wipe down of the unit. Use a soft damp cloth and carefully wipe the exterior of the dehumidifier before drying. For stubborn marks that won’t come off, you should use a magic sponge and never use anything abrasive which could damage the paint or plastic.
It is also worth checking the air outlet vent (usually located on the top of dehumidifier) since this can often have a build-up fine dust. Again vacuuming this away or using a soft cloth to wipe it away is all that is required.
Lastly, removing the tank might reveal a build up dust in the recess behind it. This should be wiped away too.
Step 5: How To Store Your Dehumidifier
If you don’t need your dehumidifier year-round the best thing to do is store it safely out of the way. Before storing it follow the instructions above and give your unit a clean.
Next, we recommend covering the unit with a bin liner (or plastic sheeting) to prevent dust from accumulating in the air vent or filter and storing it in a location that doesn’t experience extremes of hot and cold. For example, it wouldn’t be advisable to store your dehumidifier in your loft, but the cupboard under your stairs should be fine.
That’s It!
Taking a few minutes to give your dehumidifier a clean will help ensure your appliance works and effectively and keeps doing so for a long time. Many of the problems domestic dehumidifiers suffer from, such as overheating and broken fans, can be prevented simply by keeping the unit a little cleaner.


